Now I am cake order free, I am endeavouring to carve out time in between all the piles of washing that need sorting/ironing, woodwork that needs re-glossing and cupboards that need sorting as I can no longer close the doors, to make lots of Christmas Goodies including these scrummy Christmas Sugar (or in my case Chocolate Mice).
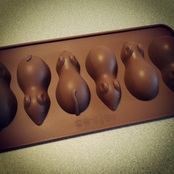
First things first you need a mould. I got mine from Amazon. Always give your moulds a wash in warm and soapy water. I tend to dry mine on low heat in the oven to ensure they are as dry as possible.
I do LOVE my silicone moulds - I actually have two stack-a-jack boxes full plus a third with just silicone alphabet letter and the numbers! Now although they are not the cheapest thing to buy I have had them over 3 years now and love making Name Cakes with them - such a different approach to making something special for someone...Any way I digress - back to MICE!
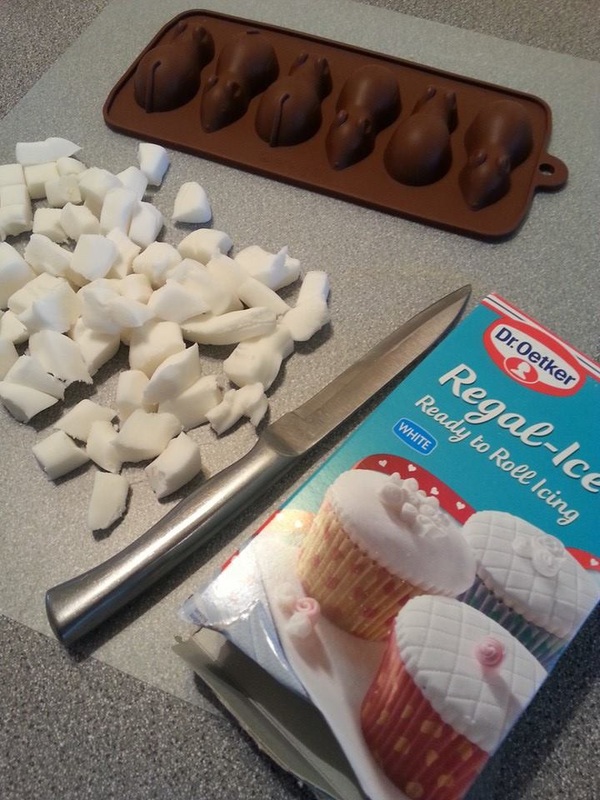
Now there are several methods of making fondant/sugar mice - the most simple which would be great for the kids to do would be to simply use fondant (ready to roll from any supermarket although since they have changed the recipes I have switched to Dr Oetker which tastes so much better). This fondant is easily coloured with just a smidge of food coluring - gel paste work the best as they do not introduce any more liquid into the fondant and produce (in my opinion) a much better colour.
I have just started using Progels By Rainbow Dust as you only need a tiny drop. to make the colour deeper just keep adding until you achieve your desired colour.
First things first you need a mould. I got mine from Amazon. Always give your moulds a wash in warm and soapy water. I tend to dry mine on low heat in the oven to ensure they are as dry as possible.
I do LOVE my silicone moulds - I actually have two stack-a-jack boxes full plus a third with just silicone alphabet letter and the numbers! Now although they are not the cheapest thing to buy I have had them over 3 years now and love making Name Cakes with them - such a different approach to making something special for someone...Any way I digress - back to MICE!
Now there are several methods of making fondant/sugar mice - the most simple which would be great for the kids to do would be to simply use fondant (ready to roll from any supermarket although since they have changed the recipes I have switched to Dr Oetker which tastes so much better). This fondant is easily coloured with just a smidge of food coluring - gel paste work the best as they do not introduce any more liquid into the fondant and produce (in my opinion) a much better colour.
I have just started using Progels By Rainbow Dust as you only need a tiny drop. to make the colour deeper just keep adding until you achieve your desired colour.
 |  |  |
To make your mice, I would use this method as you do not require a sugar thermometer or additional glucose as with some of the more refined recipes. The reason I like this one is because its simple and relatively quick ( I am not known for my patience when it comes to wanting a) results or b) sweets!)
You will need -
200g of fondant ( do weigh this out otherwise you will end up with excess fondant - which is fine if you have another mould you wish to fill use for the extras)
1 & 1/2 tbsp of water
Peppermint Extract
String for the tails
Food Colour Pen for eyes (optional)
1. Cut up the fondant into small even pieces - this will help the fondant to melt easily and evenly in the pan. Add the water and allow the fondant to melt stirring occasionally.
CAUTION!! Melted Sugar is HOT, HOT, HOT!
2. Now add any food colouring you wish - remember a little goes a lonnnnnnnng way. I use a tiny bit of the end of a wooden skewer, this keeps your fingers away from the hot sugar and helps control how much colour you add. I also added the peppermint extract at this stage - I love peppermint so I also used alot - 1-2 tsps!
3. Bring to a rolling boil for 1 minute, then lower the temperature and allow to simmer for two minutes.
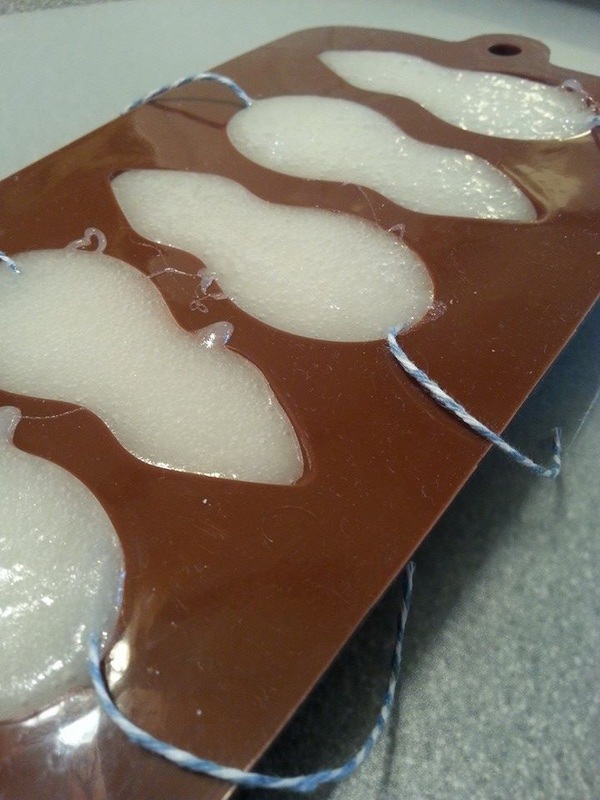
4.Pour carefully into the moulds, making sure the nose is filled to the top and then add the string tails. (prepare these before hand). I submerged mine using the end of a teaspoon.
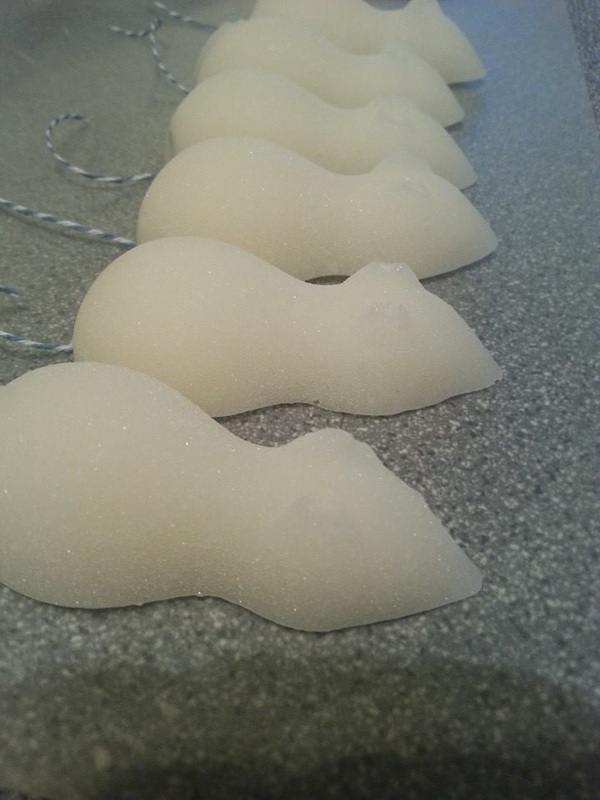
5. Leave to cool completely in the moulds - 1-2 hours. Remove carefully and leave to dry thoroughly on a cooling rack for 24 hours.
And there you have it - fondant mice ready to be packaged up and given away or in my case kept!
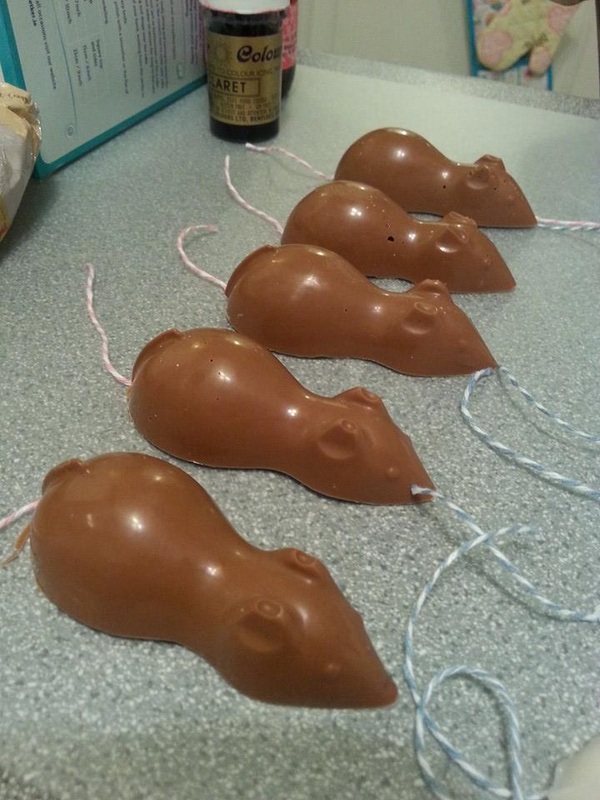
Note* If your not a fan of fondant then substitute it for chocolate - make sure you temper the chocolate (cool correctly allow even sized crystals to form and therefore be a nice shiny chocolate with no gritty bits).
A cheats way to temper chocolate is:
1. Put half your chocolate in a microwaveable bowl - 100g in this case and melt in 10 sec bursts using a spatula to stir the chocolate.
2. When this has melted, add the remaining chocolate (chopped or buttons etc) and stir allowing the unmelted chocolate the lower the temperature whilst melting.
3. Add any flavouring now - I tend to use extracts rather than essences as I find these have a more realistic and less chemical taste and smell to them.
Why not add Rose Extract to a plain or dark chocolate to create a Turkish Delight Mouse or Orange Extract to Milk Chocolate.
Have fun with your mice!
You will need -
200g of fondant ( do weigh this out otherwise you will end up with excess fondant - which is fine if you have another mould you wish to fill use for the extras)
1 & 1/2 tbsp of water
Peppermint Extract
String for the tails
Food Colour Pen for eyes (optional)
1. Cut up the fondant into small even pieces - this will help the fondant to melt easily and evenly in the pan. Add the water and allow the fondant to melt stirring occasionally.
CAUTION!! Melted Sugar is HOT, HOT, HOT!
2. Now add any food colouring you wish - remember a little goes a lonnnnnnnng way. I use a tiny bit of the end of a wooden skewer, this keeps your fingers away from the hot sugar and helps control how much colour you add. I also added the peppermint extract at this stage - I love peppermint so I also used alot - 1-2 tsps!
3. Bring to a rolling boil for 1 minute, then lower the temperature and allow to simmer for two minutes.
4.Pour carefully into the moulds, making sure the nose is filled to the top and then add the string tails. (prepare these before hand). I submerged mine using the end of a teaspoon.
5. Leave to cool completely in the moulds - 1-2 hours. Remove carefully and leave to dry thoroughly on a cooling rack for 24 hours.
And there you have it - fondant mice ready to be packaged up and given away or in my case kept!
Note* If your not a fan of fondant then substitute it for chocolate - make sure you temper the chocolate (cool correctly allow even sized crystals to form and therefore be a nice shiny chocolate with no gritty bits).
A cheats way to temper chocolate is:
1. Put half your chocolate in a microwaveable bowl - 100g in this case and melt in 10 sec bursts using a spatula to stir the chocolate.
2. When this has melted, add the remaining chocolate (chopped or buttons etc) and stir allowing the unmelted chocolate the lower the temperature whilst melting.
3. Add any flavouring now - I tend to use extracts rather than essences as I find these have a more realistic and less chemical taste and smell to them.
Why not add Rose Extract to a plain or dark chocolate to create a Turkish Delight Mouse or Orange Extract to Milk Chocolate.
Have fun with your mice!

| | | | |

 RSS Feed